Preset Deployment
This is where the magic of the CX Engine happens. The deployment of the presets! First you have to assign the presets to the devices and then roll them out.
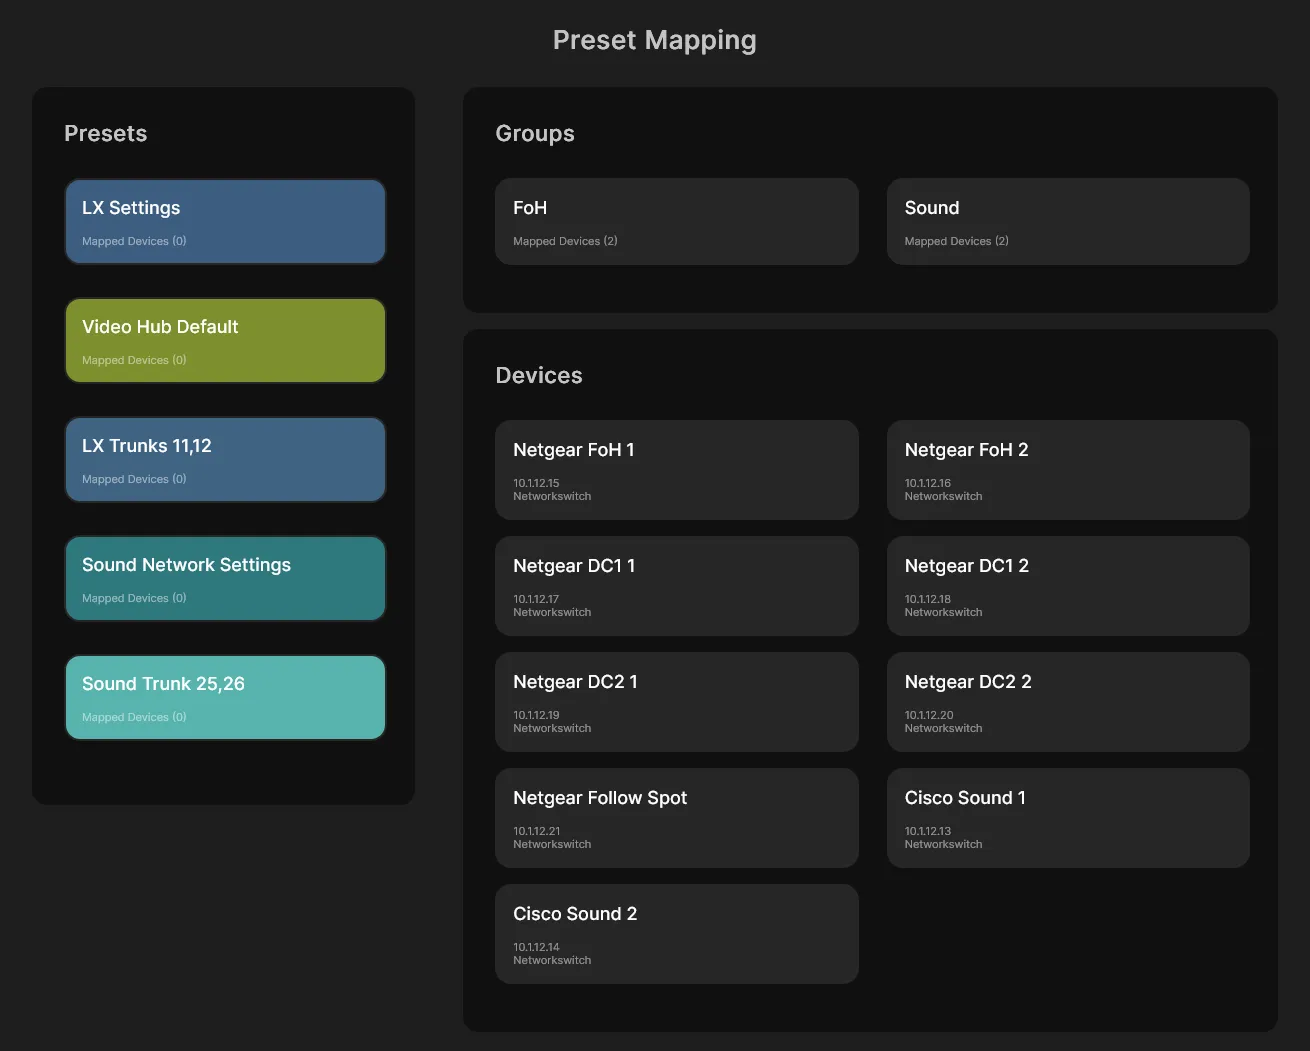
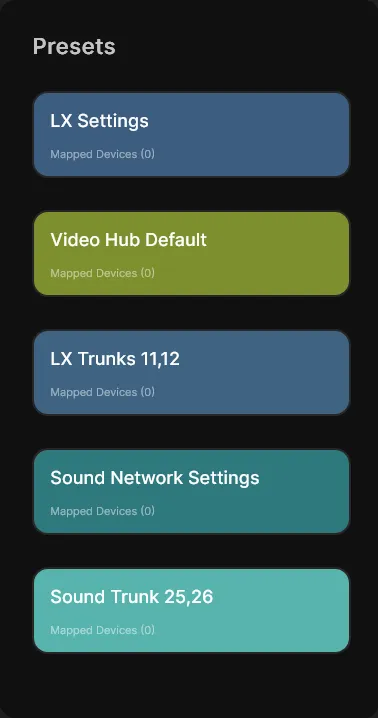
Select a preset
On the left-hand side, you will find a column with all the presets that you have previously created. If you move the mouse over a preset, the software shows you the devices that are assigned to this preset on the right-hand side. You can select these and thus choose them for assignment.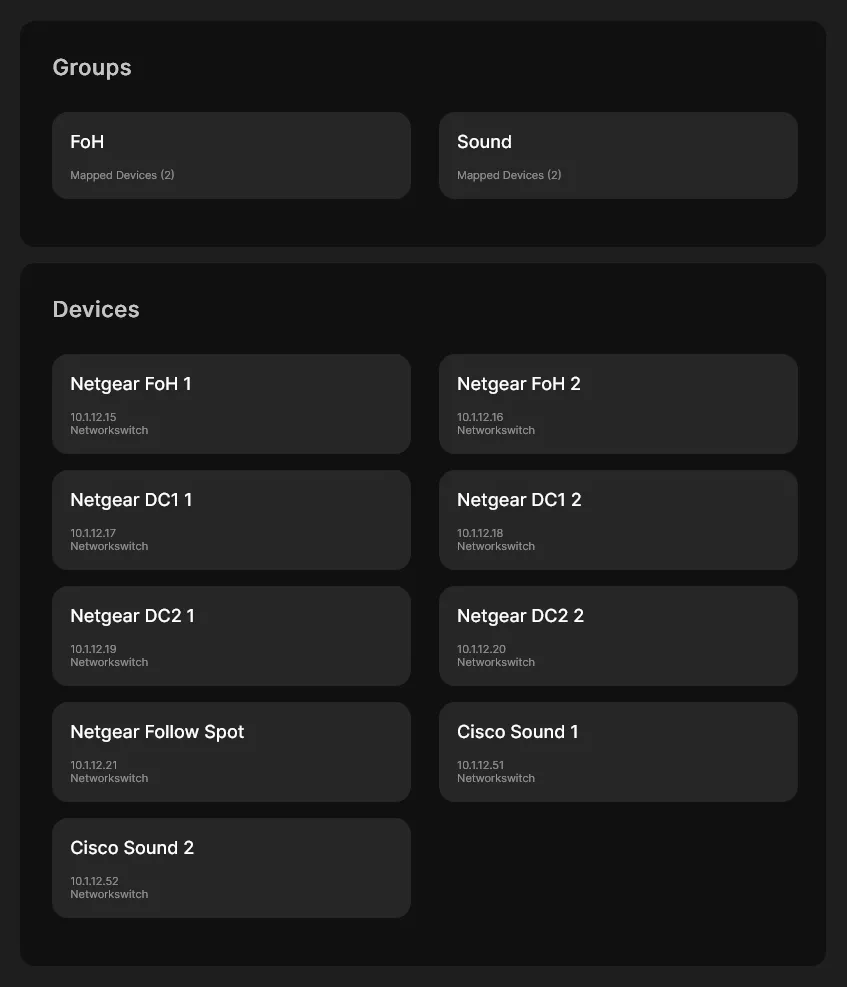
Select the devices
On the right-hand side you will find all the devices that you have created in the inventory. If you have selected a preset, you can now select the devices that you can assign to the preset. You can assign several devices to a preset.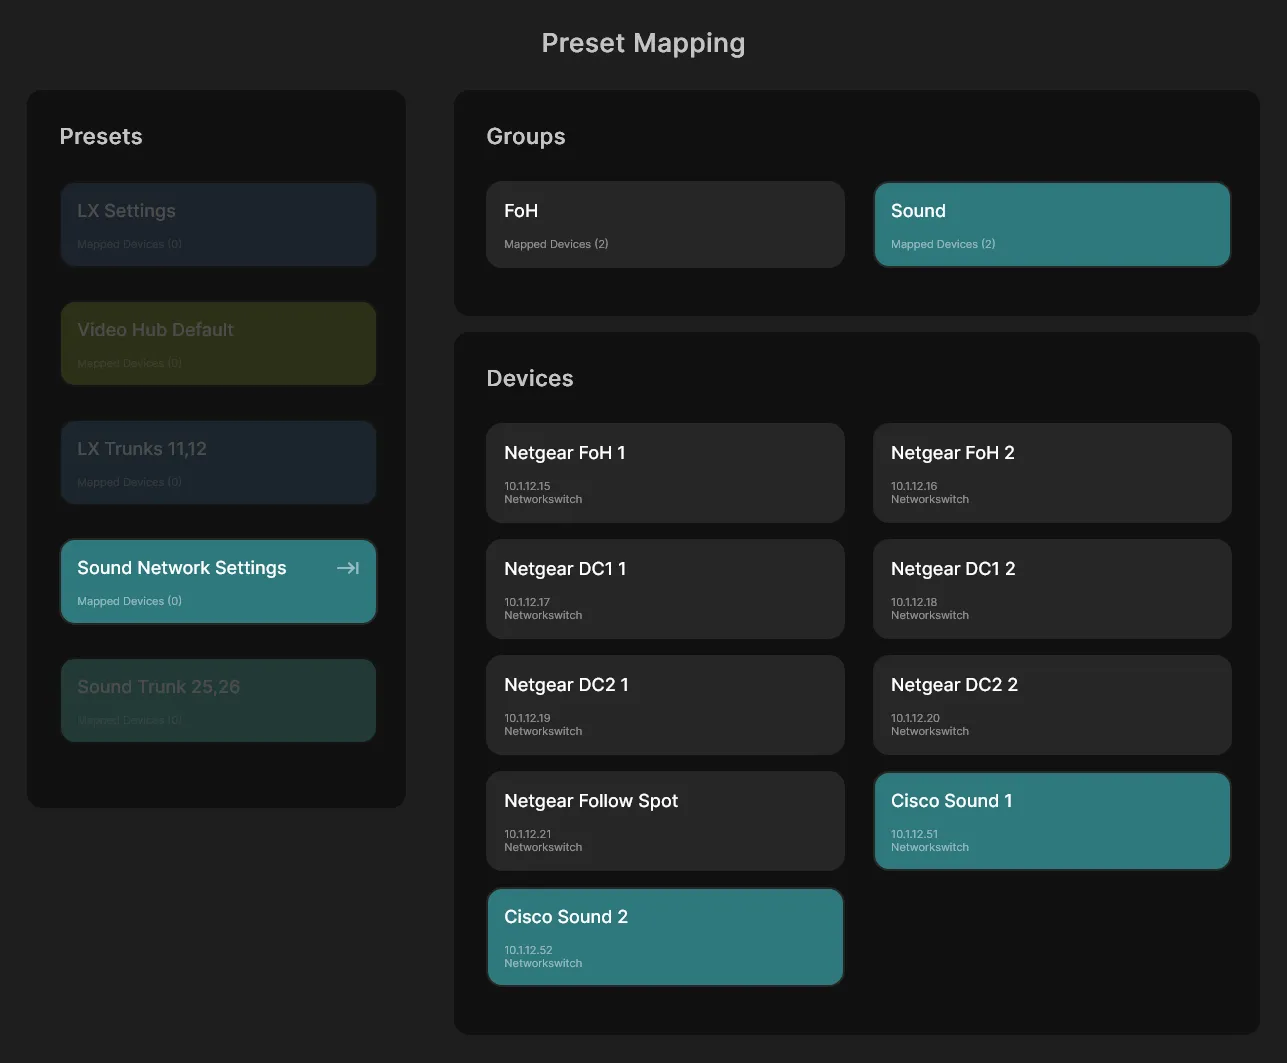
It looks like this
The deployment
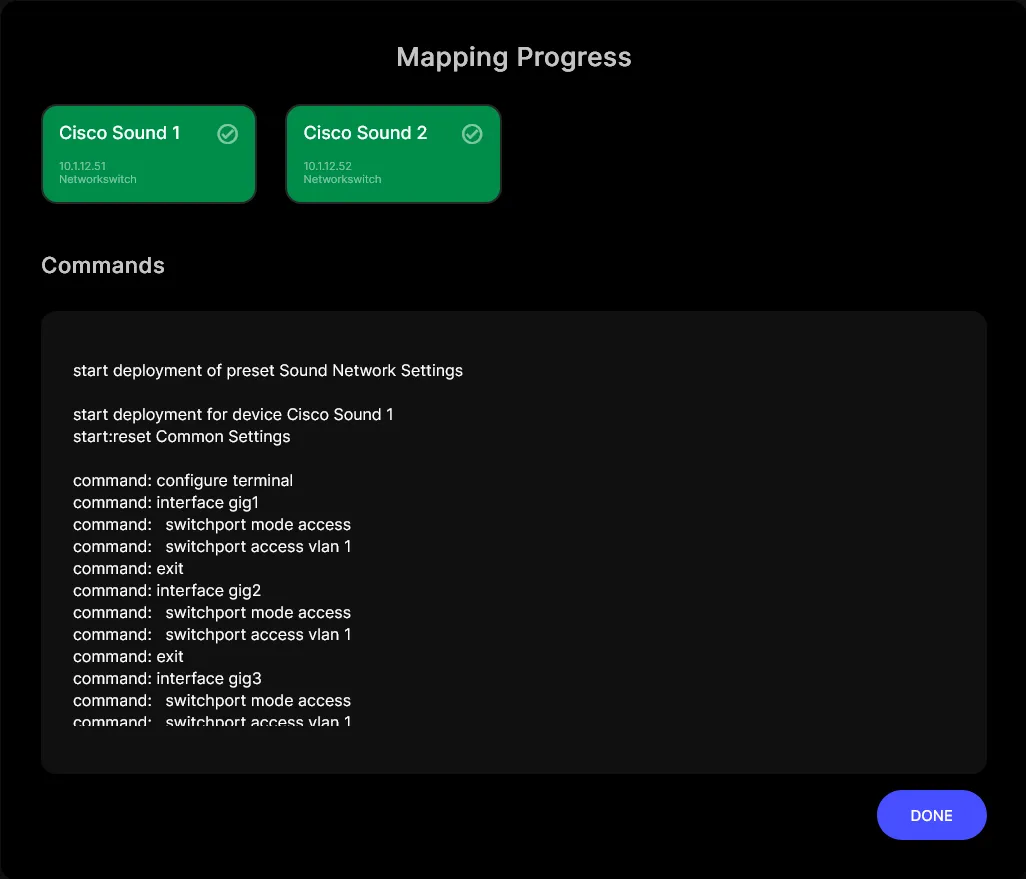
After clicking on "Deploy Preset", this window opens. Here you can see the progress of the application of the individual presets.
Progress
In the upper section of the screen you can see the progress of the roll-out. Each device to which a preset is being rolled out is displayed here. You will see the three states:
- Waiting for deployment
- Deployment successful
- Deployment faulty
Logs
Under the devices you will find a history with information about what was done on the devices. Here you will also find information on why a roll-out process on a device was faulty.
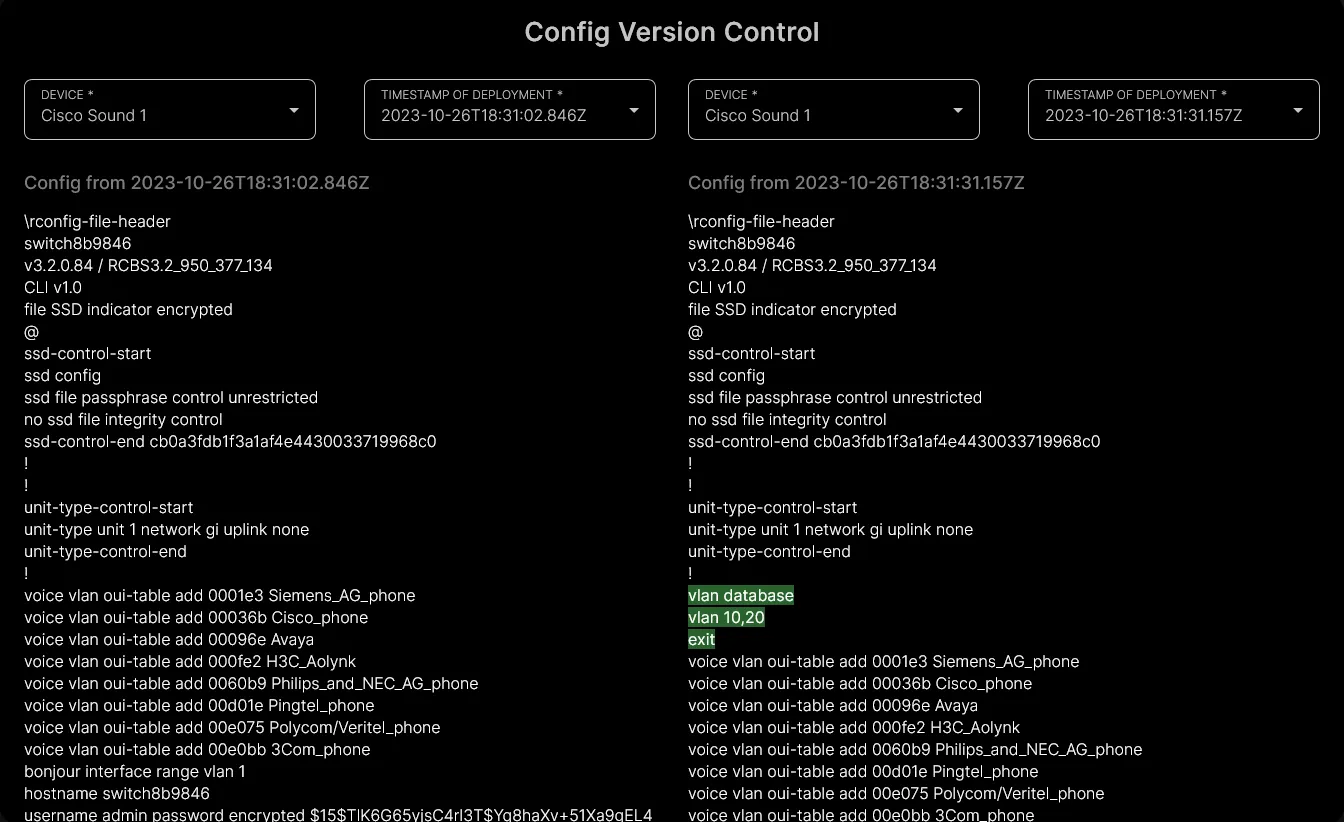
Version control
Now it gets crazy! The CX-Engine saves the current configuration of the device after each roll-out. Depending on the type of device, you can compare the versions with each other. This way you can easily and quickly find the changes that have been made.
New VLANs
For example, in the image you can see that the CX-Engie created two new VLANs on the switch during the rollout. The green color indicates that this is a change that was added. A red color would indicate a missing entry.

© 2026 CX-Networks GmbH
Version: 1.6.4